Can you hear that? It’s the sound of harvester engines firing up in preparation for this year’s citrus season.
After a long, sun-drenched summer, it’s time again for spectacular Aussie citrus to hit the supermarket shelves. At the top of the Dracula Citrus™ batting order are our stunning Cara Cara’s, which will be ready for you to sink your fangs into from June.
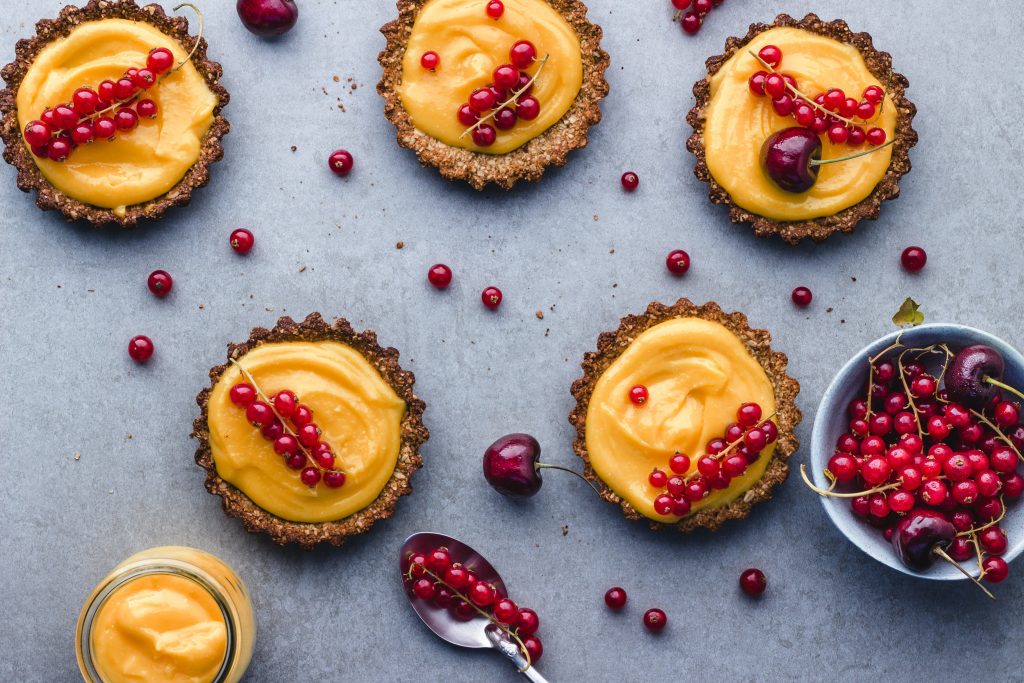
Nothing beats an orange for a tasty, nutritious burst of vitamin C and fibre from school lunches to fruit salad or an on-the-go snack. However, when it comes to cooking with citrus, most people simply scratch their heads.
To help you incorporate more citrusy goodness into your culinary repertoire, we’ve come up with a truly spectacular recipe that will be a feast for all your senses – as well as your belly.
Why Cook With Cara Cara Oranges?
1. Cara Caras are slightly sweeter:
It’s critical to remember that Cara Caras are a derivative of Navel oranges, so their flavour and nutritional profiles are quite similar in many respects. However, Cara Caras are typically somewhat sweeter than regular navels but retain the tang we all love. This makes them perfect for cooking as they can satisfy the sweet tooth with less added sugar.
2. Cara Caras are healthy:
In our previous piece discussing the health benefits of blood oranges, we explained that bloods get their colouring from the magical, albeit barely pronounceable family of antioxidants called anthocyanins. However, the gorgeous Cara Cara pink is, in fact, caused by lycopene. That’s right, the same substance in tomatoes! The good news is that lycopene is still an antioxidant overachiever, so you still get outstanding health benefits.
3. Cara Caras are beautiful:
Most importantly, that same stunning rosy hue adds a unique burst of natural colour and texture that boosts the visual appeal to any food. It’s been scientifically proven that food that looks good actually tastes better. For this reason, Cara Cara’s are your secret weapon that takes your cooking or baking game to the next level.
What’s So Amazing About Our Cara Cara Layer Cake Recipe?
The beauty of this Cara Cara recipe is that it incorporates the fruit in three ways:
- Zest for the sponge
- Juice for the curd
- Flesh for the garnish
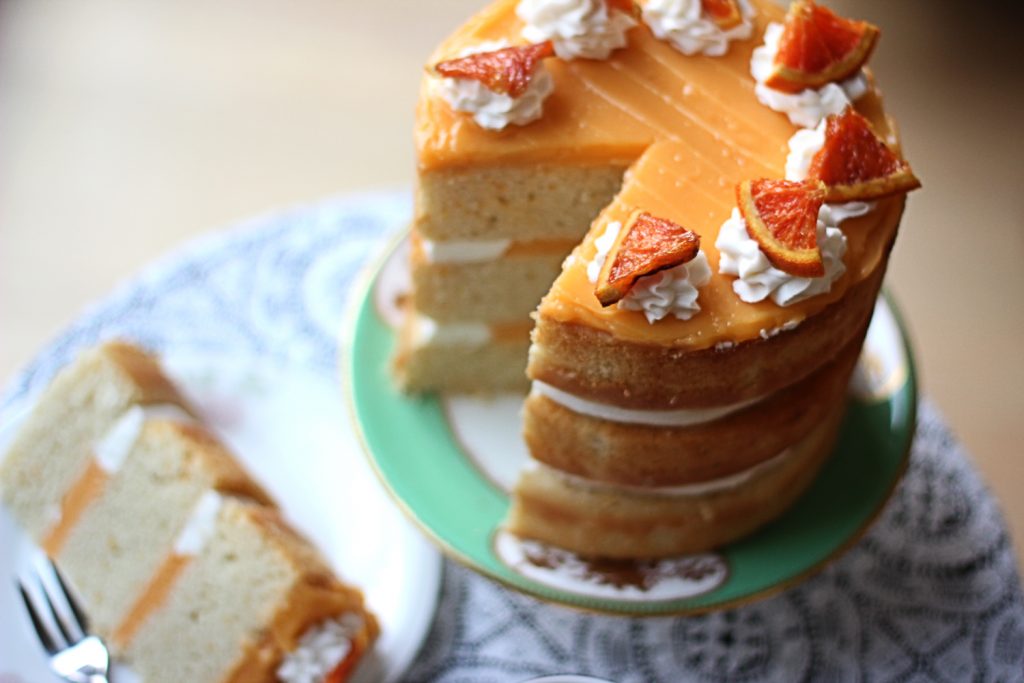
The result is an aesthetically striking and gloriously delicious dessert that will thrill your tastebuds and bedazzle your family or guests. The balance of sweet and tangy in concert with the contrasting textures of cake, curd and fruit make it an experience you will want to go back to time and time again.
So, without further ado, here is the recipe:
Dracula Citrus™’ Delicious Cara Cara Layer Cake Recipe

Part 1 – The Sponge:
Ingredients:
- 2 ⅔ cups (435g) of all-purpose flour
- 1 cup (220g) of white sugar
- 2 teaspoons of Baking Soda
- ½ teaspoon of salt
- 1 ½ cups (375ml) of soy milk*
- ½ cup (125ml) of light vegetable oil
- 1 tablespoon of apple cider vinegar
- 2 teaspoons of vanilla bean paste
- 2 teaspoons of Dracula Citrus™ Cara Cara orange rind
- Juice of one Dracula Citrus™ Cara Cara orange
*You can substitute soy milk for rice milk or oat milk, and this will not alter the flavour.
Directions:
- Preheat a fan-forced oven to 160°C /320°F.
- Line two 20cm/8-inch cake pans with non-stick baking paper.
- Sift the flour into a large mixing bowl. Then add the sugar, baking soda & salt and mix well.
- Add the milk, oil, vanilla bean paste and Cara Cara orange rind and once combined, mix in apple cider vinegar.
- Divide the batter evenly between the two prepared pans.
- Bake for 30 – 40 minutes or until a toothpick inserted into the centre of the cake comes out clean. If there’s still moist batter stuck on the toothpick, leave it in for a few more minutes and try again.
- Allow the cakes to cool on a wire cooling rack. This helps the air circulate underneath so the bottom of the cake doesn’t get soggy.
- While that’s happening, make a start on the Cara Cara orange curd!
Part 2: The Cara Cara Orange Curd:
Ingredients:
- 1 cup (250ml) of freshly squeezed Cara Cara orange juice
- 3 tablespoons of cornflour
- 1/2 cup (125g) of caster sugar
- ¼ cup of unsweetened soy, rice or oat milk
- 50g/1¾oz of margarine or vegan butter
Directions:
- Whisk Cara Cara juice and cornflour together in a bowl until the mixture is completely smooth and free of lumps. Set aside.
- Place the milk and sugar into a small saucepan on medium heat until the sugar completely dissolves.
- Once dissolved, pour in the Cara Cara juice and cornflour mix and continue heating while stirring continuously until the curd thickens.
- Take the saucepan off the heat, add in the margarine and stir until it is completely dissolved and the mixture becomes smooth and silky.
- Place the curd in your refrigerator for 2-3 hours or until fully cooled.
- While it’s cooling, it’s time to get started on the roasted Cara Cara oranges!
Pro Tip: If your curd is too warm, it will be quite runny and difficult to work with. To ensure you get the best visual impact, resist the temptation to work with it before it’s fully cooled. Cooling to room temperature should be sufficient if you prefer the curd a little bit runnier.
Part 3: The Roasted Cara Cara Oranges:
Ingredients:
- 2 Cara Cara oranges
- 1 tablespoon of vegetable oil
- 1 tablespoon of coconut sugar (or brown sugar).
Pro tip: Coconut sugar is less processed and has a lower glycemic index than cane sugar. Many people find that the sweetness of coconut sugar is a little less intense, which can be a good or bad thing depending on your preferences. If you prefer to use cane sugar, it will work just fine. However, be sure to use brown, as this will give the roasted oranges a truly spectacular, deep and rich colour that really brings the whole dish together.
Directions:
- Preheat the oven to 200°C/390°F. Line a baking sheet with non-stick baking paper.
- Peel the oranges and slice them into approximately 5mm/¼ inch thick disks.
- Lay the slices on the lined baking sheet, making sure to remove any pips.
- Drizzle the orange slices liberally with olive oil.
- Sprinkle the coconut sugar evenly over each piece of orange.
- Roast in the pre-heated oven for 15-20 minutes until they are caramelised around the edges.
Part 4 (optional) – Vegan Butter Cream
Ingredients:
- 3 ½ cups (420g) Icing Sugar
- 1 cup (225g) Nuttelex or Vegan Butter
- 1 teaspoon Vanilla Extract or Vanilla Bean Paste
Directions:
- Add the icing sugar, vegan butter and vanilla to your mixing bowl.
- Using a stand mixer or beater, start beating at a slow speed and gradually increase the speed until thick and smooth. Your buttercream should stand tall on a spoon without sinking at room temperature but be soft to eat.
- To get the right consistency, add more icing sugar to thicken or add a touch of dairy-free milk a drop at a time to soften the mixture.
Part 5: Put It All Together:
Directions:
- Once the cakes and curd are completely cool, place 1 cake on your cake stand or serving plate.
- Layer the top of the first cake with half of the orange curd and buttercream.
- Place the second cake gently on top of the orange curd layer, taking care to align the edges as closely as possible.
- Decorate the top of the second cake with the remaining orange curd and buttercream.
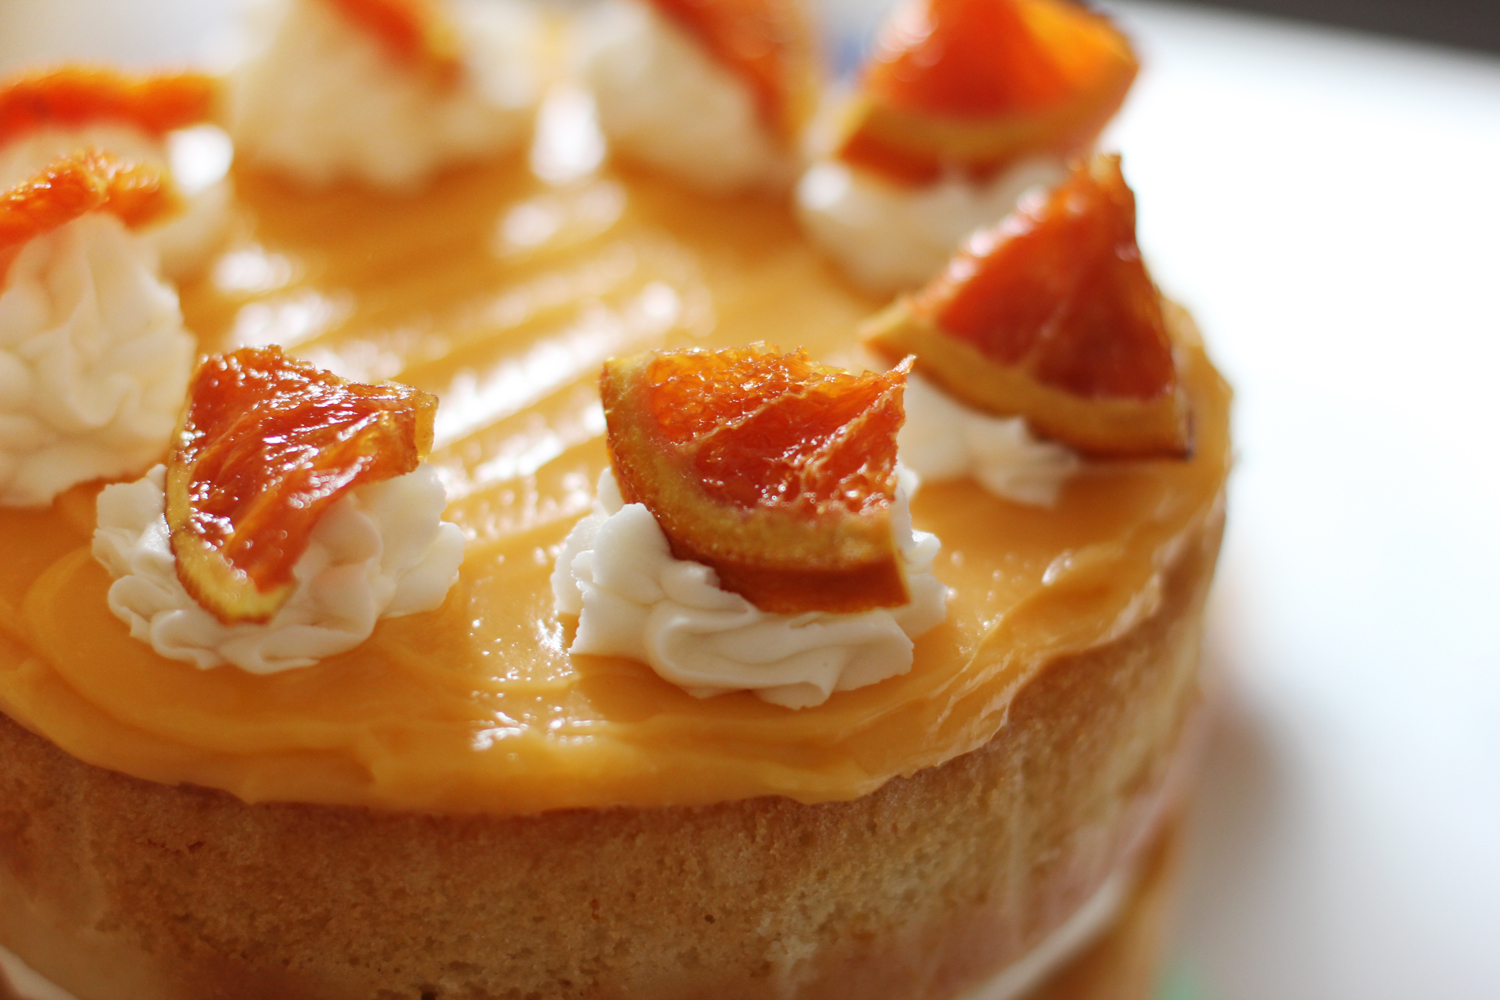
Pro Tip: If the curd is cooler, you may want to use a spatula to spread it evenly. Alternatively, if you’re using room temperature curd, you might find that it flows more easily, and you can achieve an attractive cascade effect on the sides of the cake. Decorate with roasted Cara Cara oranges.
- Arrange the roasted orange slices on top of the curd in whatever pattern you prefer. This is your chance to get a bit creative and add your personal touch. If you’re stuck for ideas, here are a few suggestions:
- Start at the outside and arrange them in a swirl pattern finishing in the centre of the cake. If you have enough slices, you can overlap them slightly for a lovely effect.
- Cut the slices in half and arrange them in concentric circles across the width of the cake.
- Fold some of the slices in half and arrange them in alternating rows.
- Allow the components to set for at least 15 minutes prior to serving. This may help to keep the layers together.
This amazing recipe is sure to be a hit wherever and whenever it’s served. The vibrant colours of the curd and the roasted fruit make it almost irresistible, with a bold, heavenly flavour to match.
Dietary and Allergen Information:
- Contains gluten
- Suitable for Vegans and Vegetarians
- Nut-Free
- Not suitable for low FODMAP diet
- Contains soy